Celebrating National Cheese Curd Day, October 15th
By: Valerie Tobias | Marketing Coordinator, Dairy Connection Inc.
I'm a Generation X-er who's lived in Wisconsin most of her life. I don't remember NOT having easy access to cheese curds, whether the fresh or fried varieties.
If you're not from around here, or the Midwest in general, you may not have had the opportunity to imbibe on fresh, warm cheddar curd, hours or less from the vat. The tell? It squeaks if it's fresh. No squeak and you've got Wisconsin-style fury on your hands, gosh dernit.
I've eaten curds fried many times but have never tried to fry them myself. Well, it was about time I did something about that, and what better time than in anticipation of October 15th, National Cheese Curd Day?
I did my research. I work with a bunch of cheese nerds (sorry) here at Dairy Connection, so there were plenty of opinions and input. I learned that success in this endeavor requires freshness of the curd (obviously), and a decent batter. There are apparently two general schools of thought on batter: Option A is a thicker breading, along the lines of a traditional mozzarella stick, and Option B is a thinner, lighter breading. I've eaten enough fried curds to know that I prefer the latter, so that's the direction I went for my first go.
I found a base recipe online and made adjustments along the way after more consultation with co-workers.
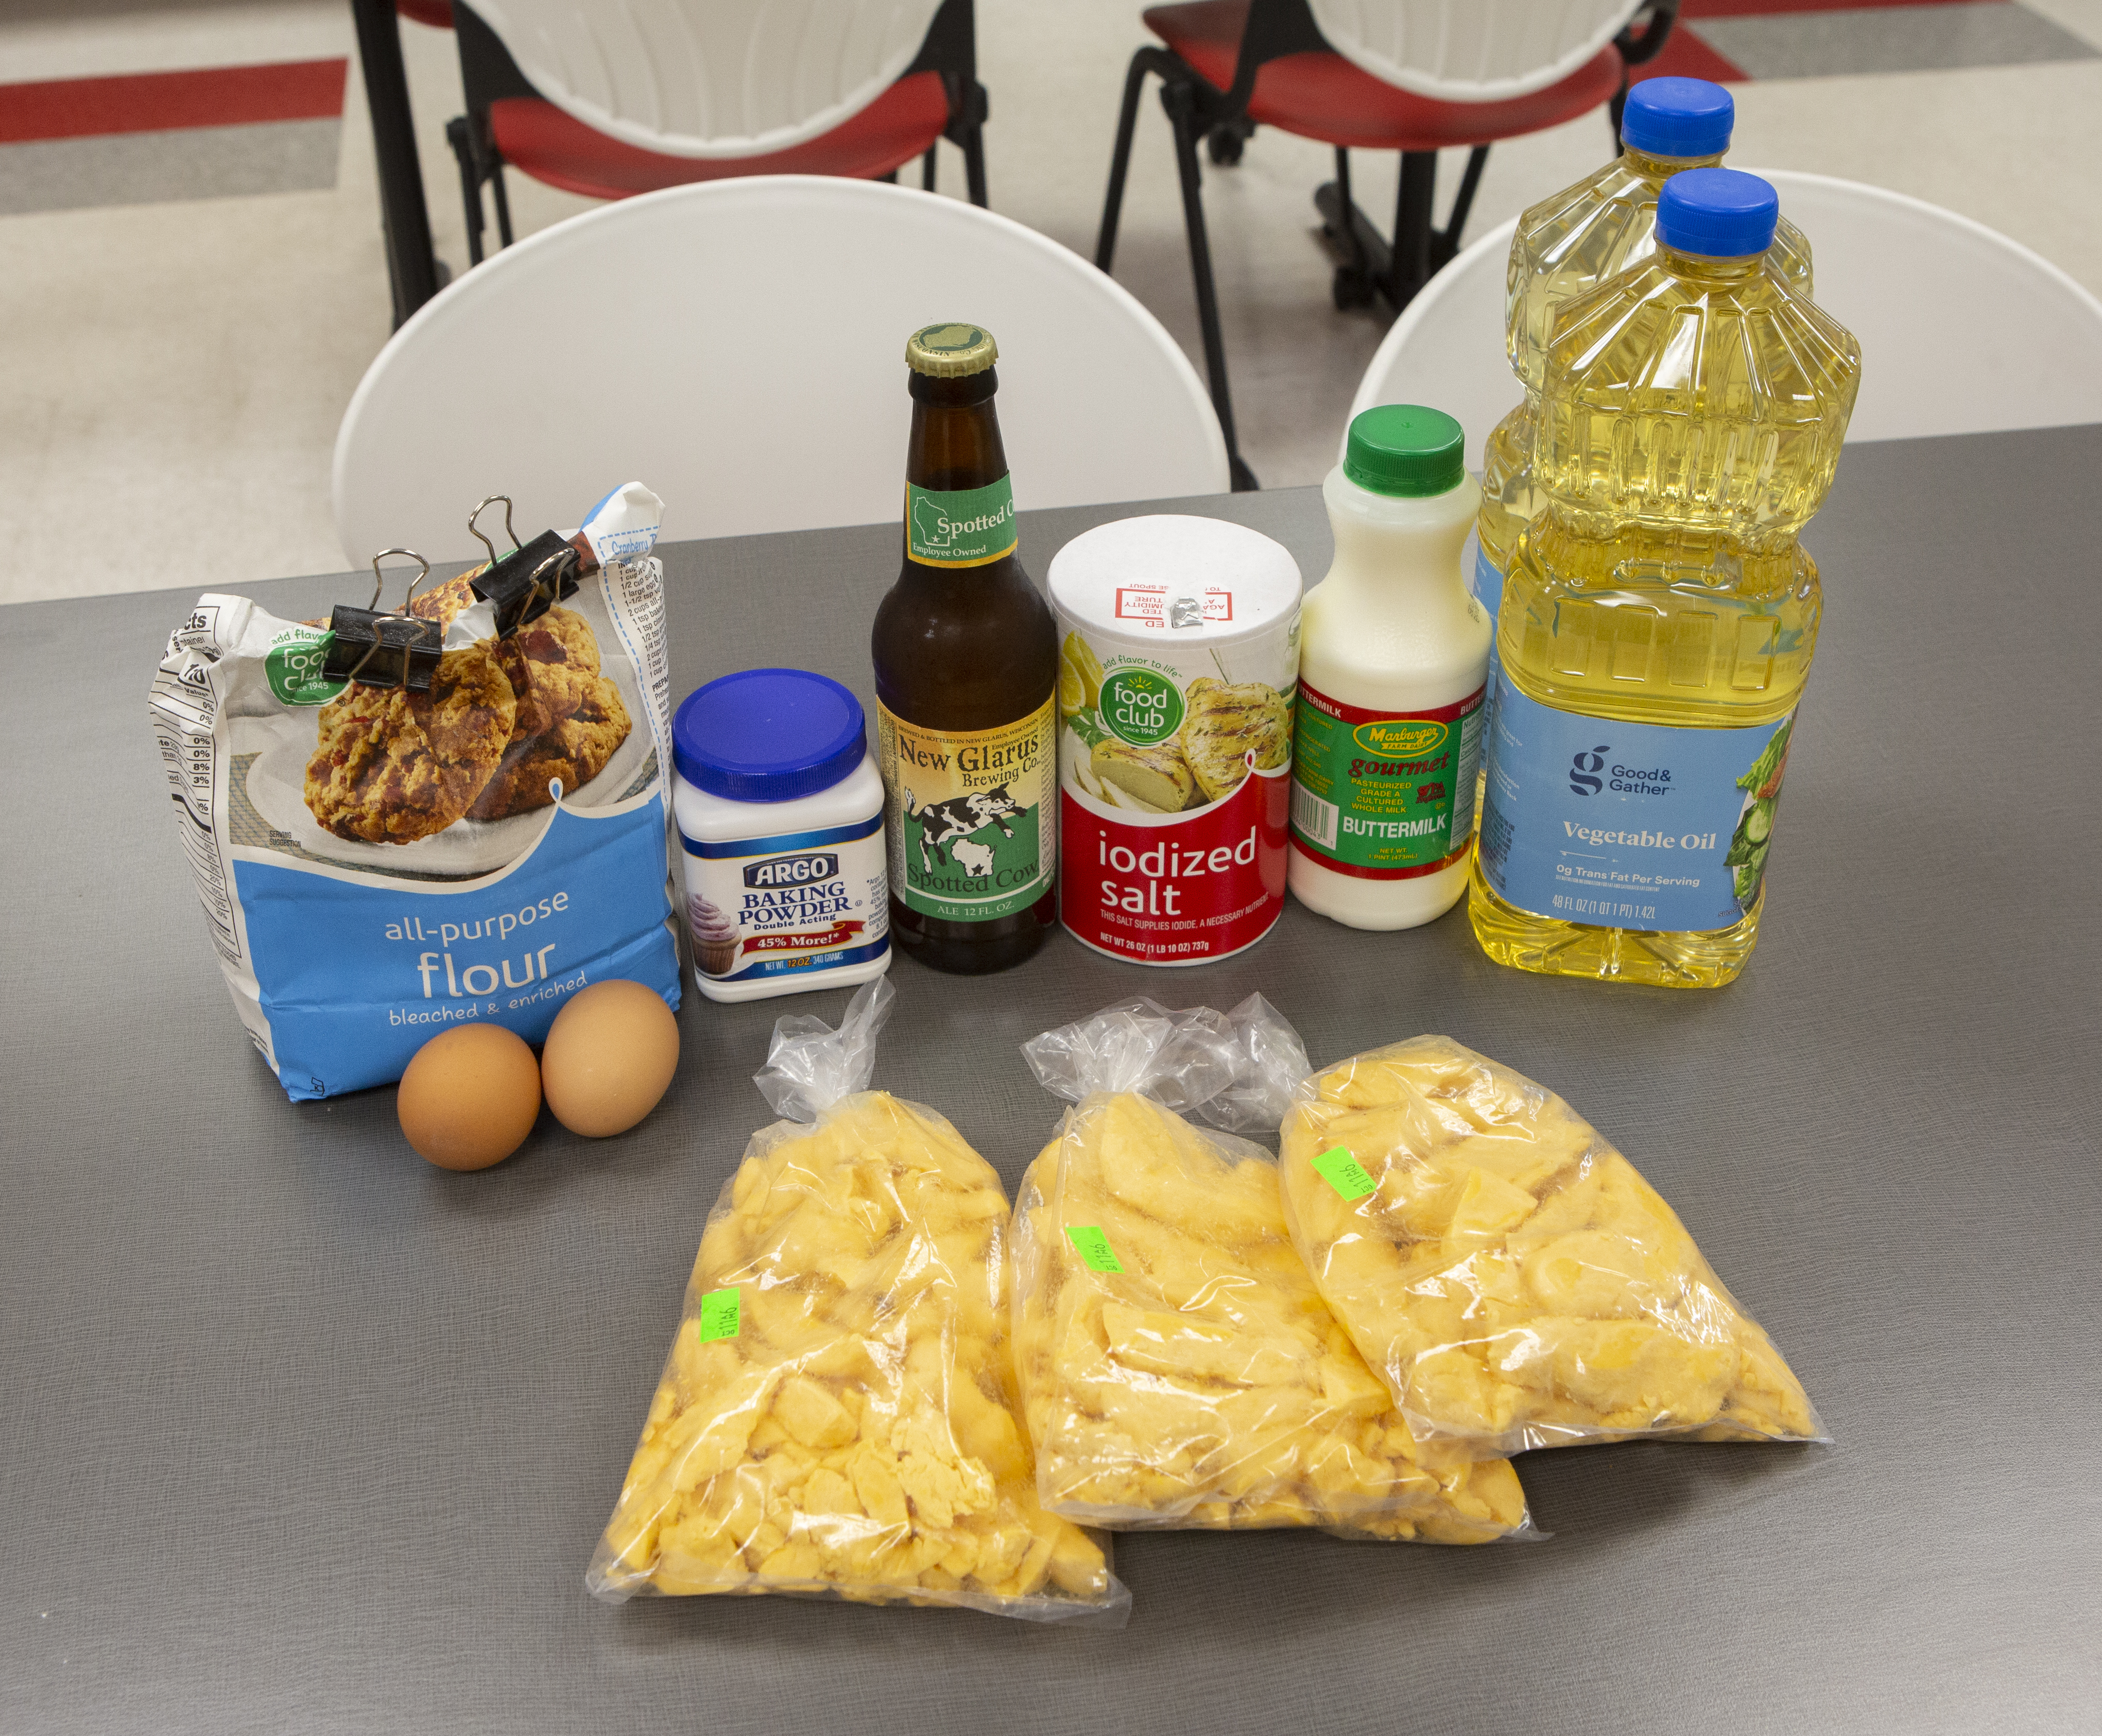
Here is what I used to make my batter:
- 1 1/2 cups all-purpose flour
- 1/2 cup buttermilk
- 1/2 tsp baking powder (note: turns out I was supposed to use baking soda. This isn't the first time I've made this error and you'd think I'd learn)
- Full bottle New Glarus Spotted Cow beer (use what you like, but this is Wisconsin so...)
- 1 tsp salt
- 2 eggs
- 3 lbs fresh curds
You'll also need:
- About a cup of extra flour to pre-coat the curds before putting them in batter
- Enough vegetable oil to fry using whatever method of frying you prefer. I used a small basket fryer that required about 1.5 quarts of oil
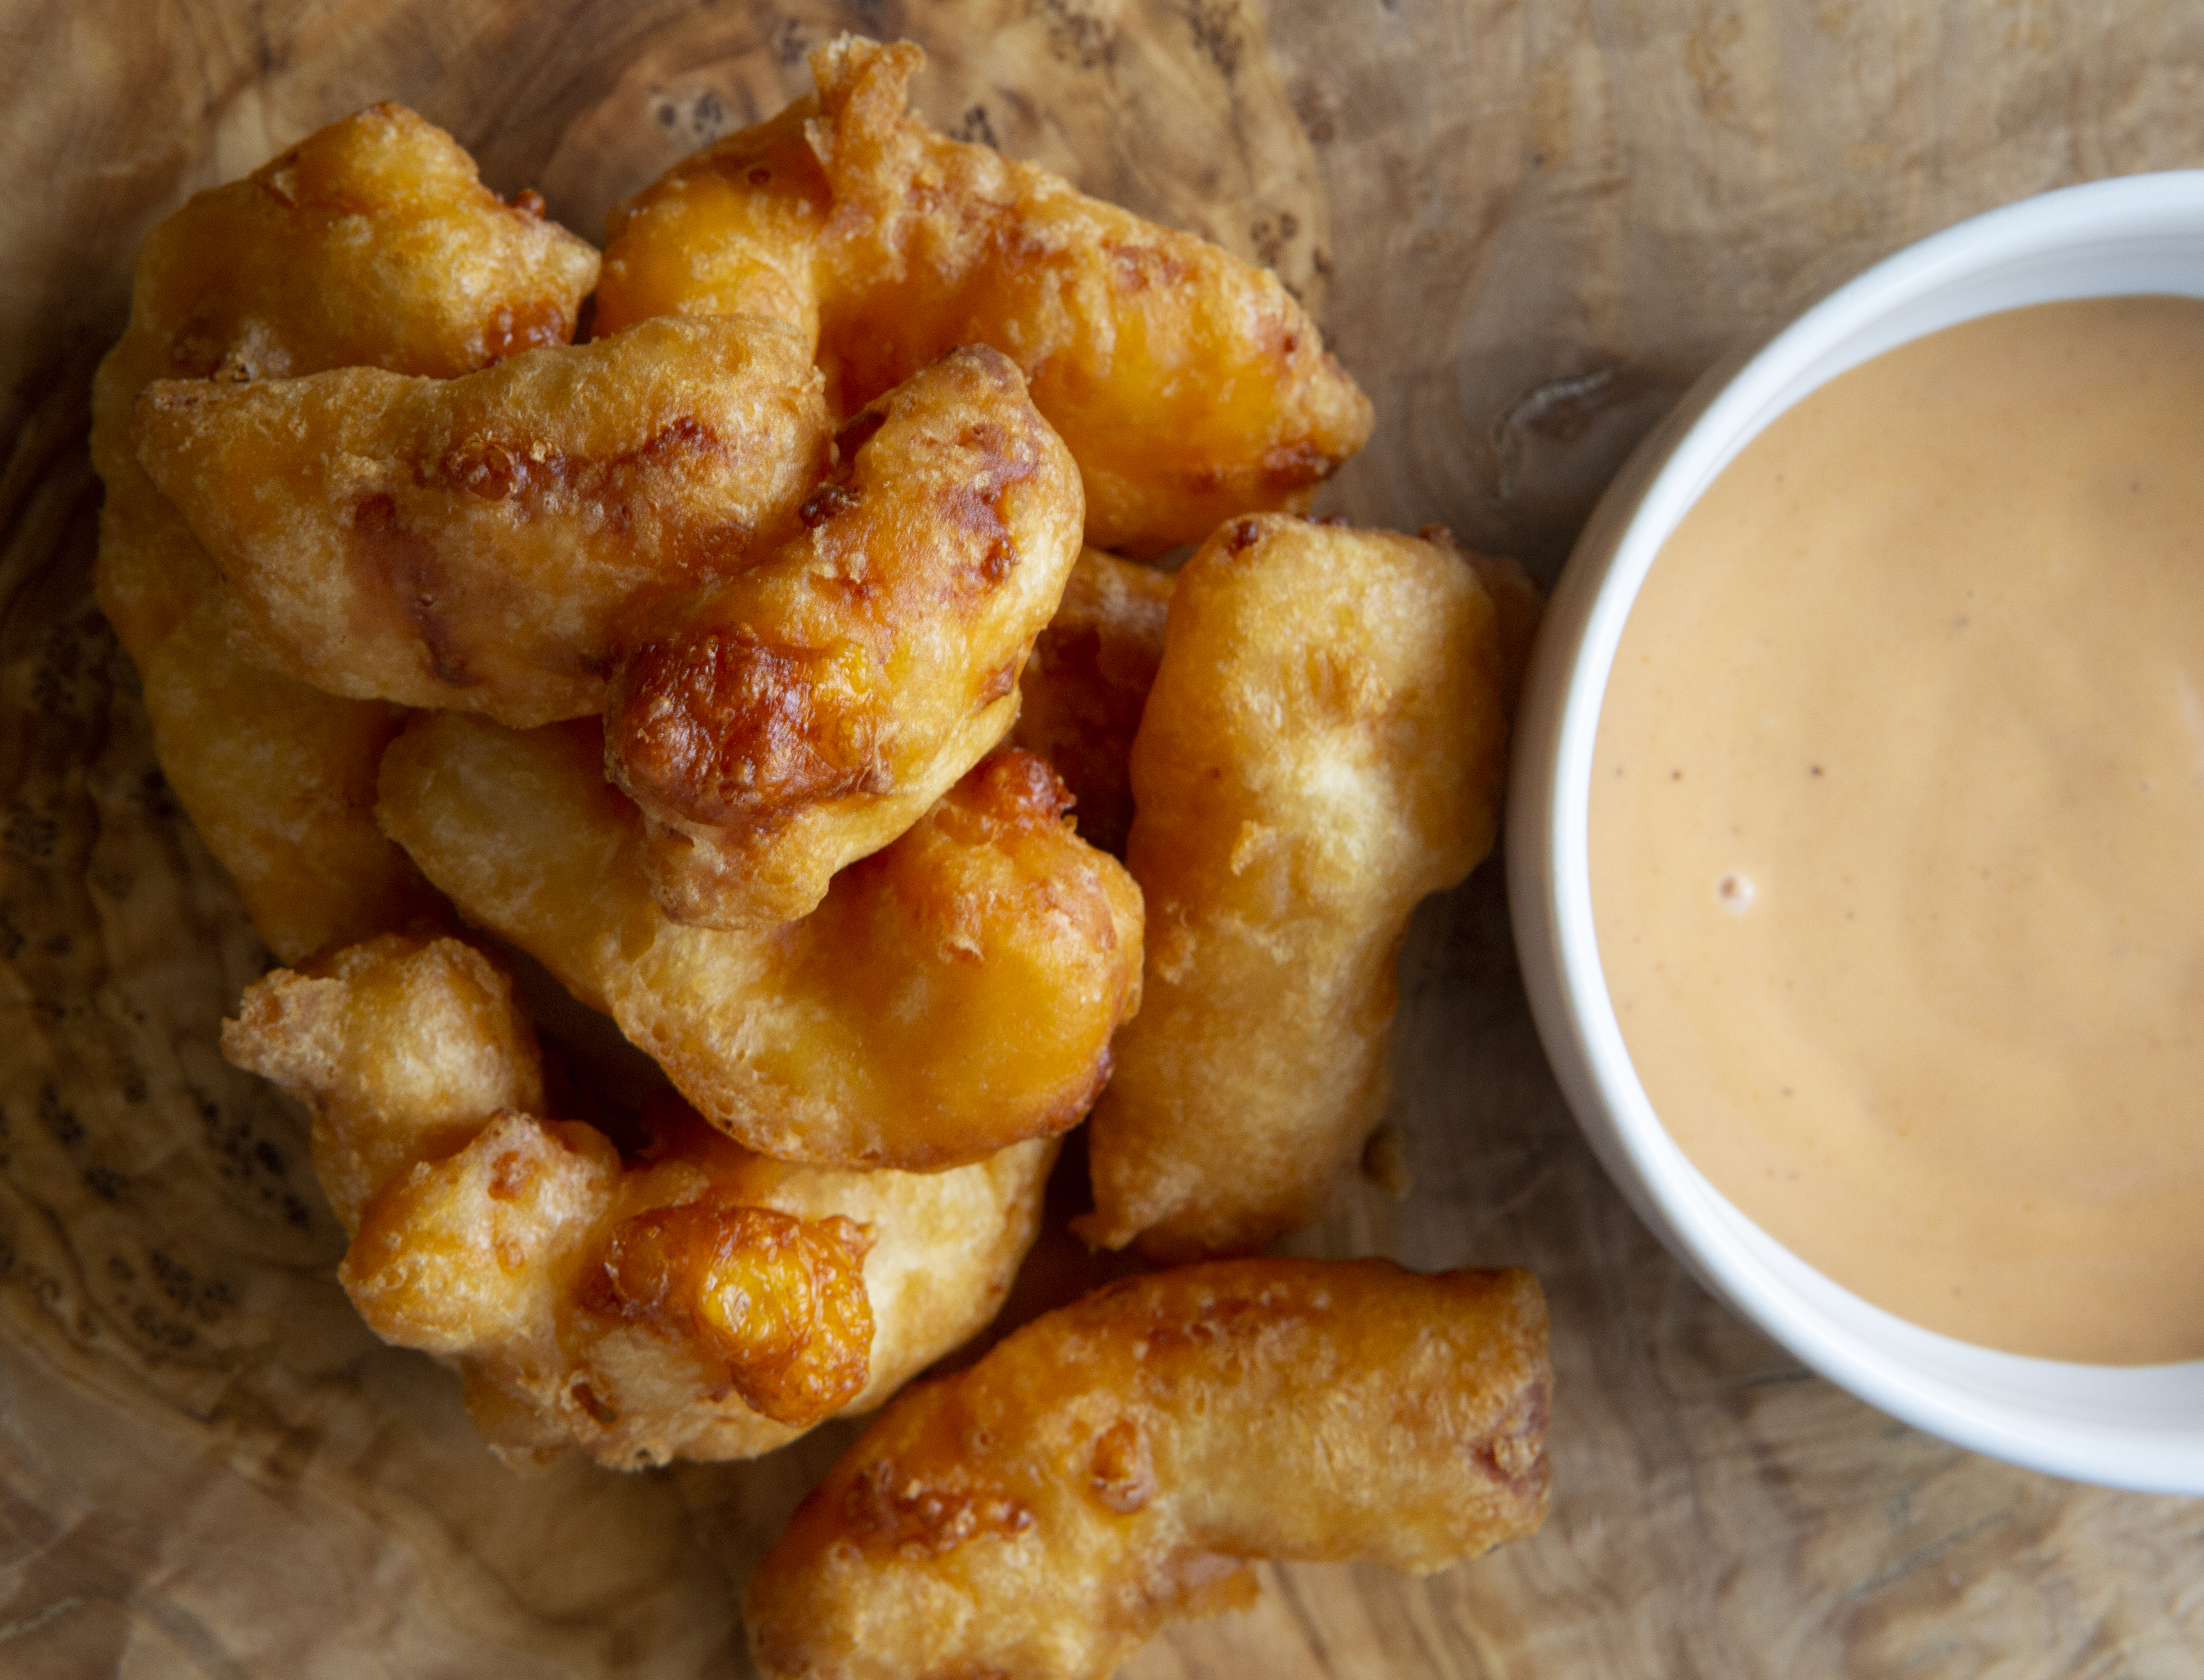
- Dipping sauces, if that's your thing
Procedure:
1. Throw your curds into the freezer for 30-60 minutes.
2. Start heating up your oil. BE CAREFUL, hot oil hurts. Don't ask me how I know. My directions said 400F, but my fryer only went up to 375F and that worked fine.
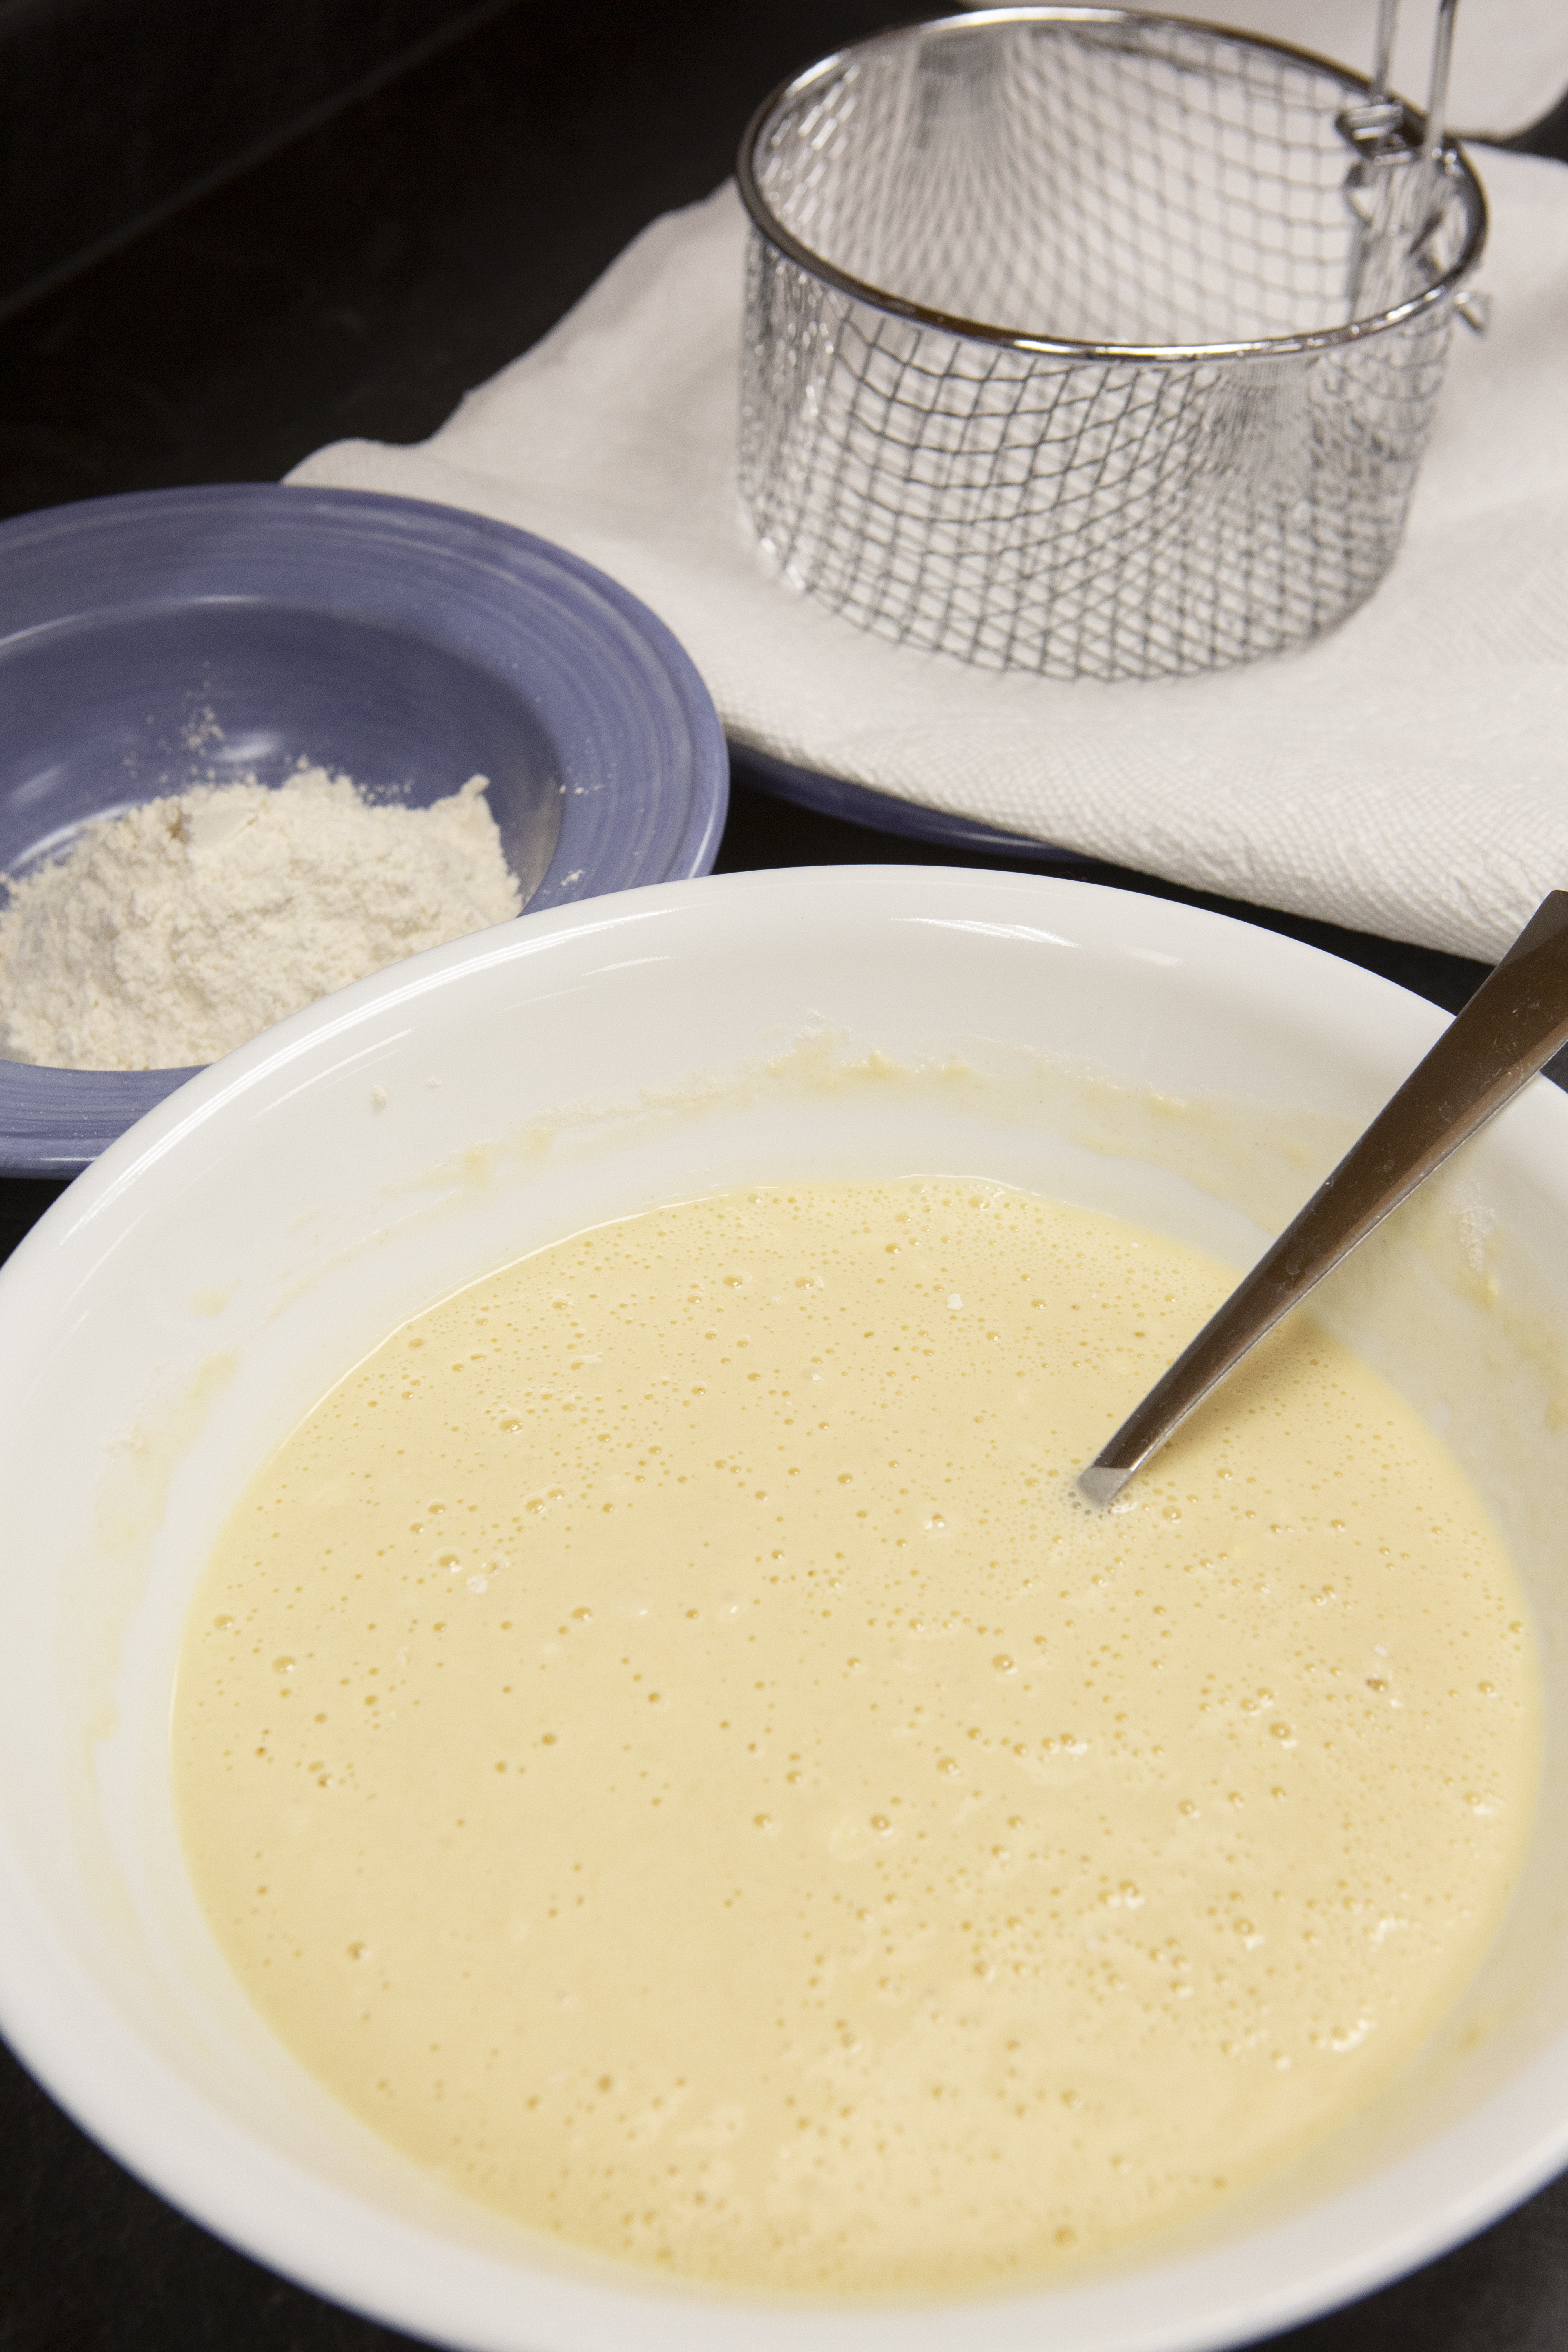
3. Mix your batter in a large bowl.
4. Put your extra cup of flour in another bowl.
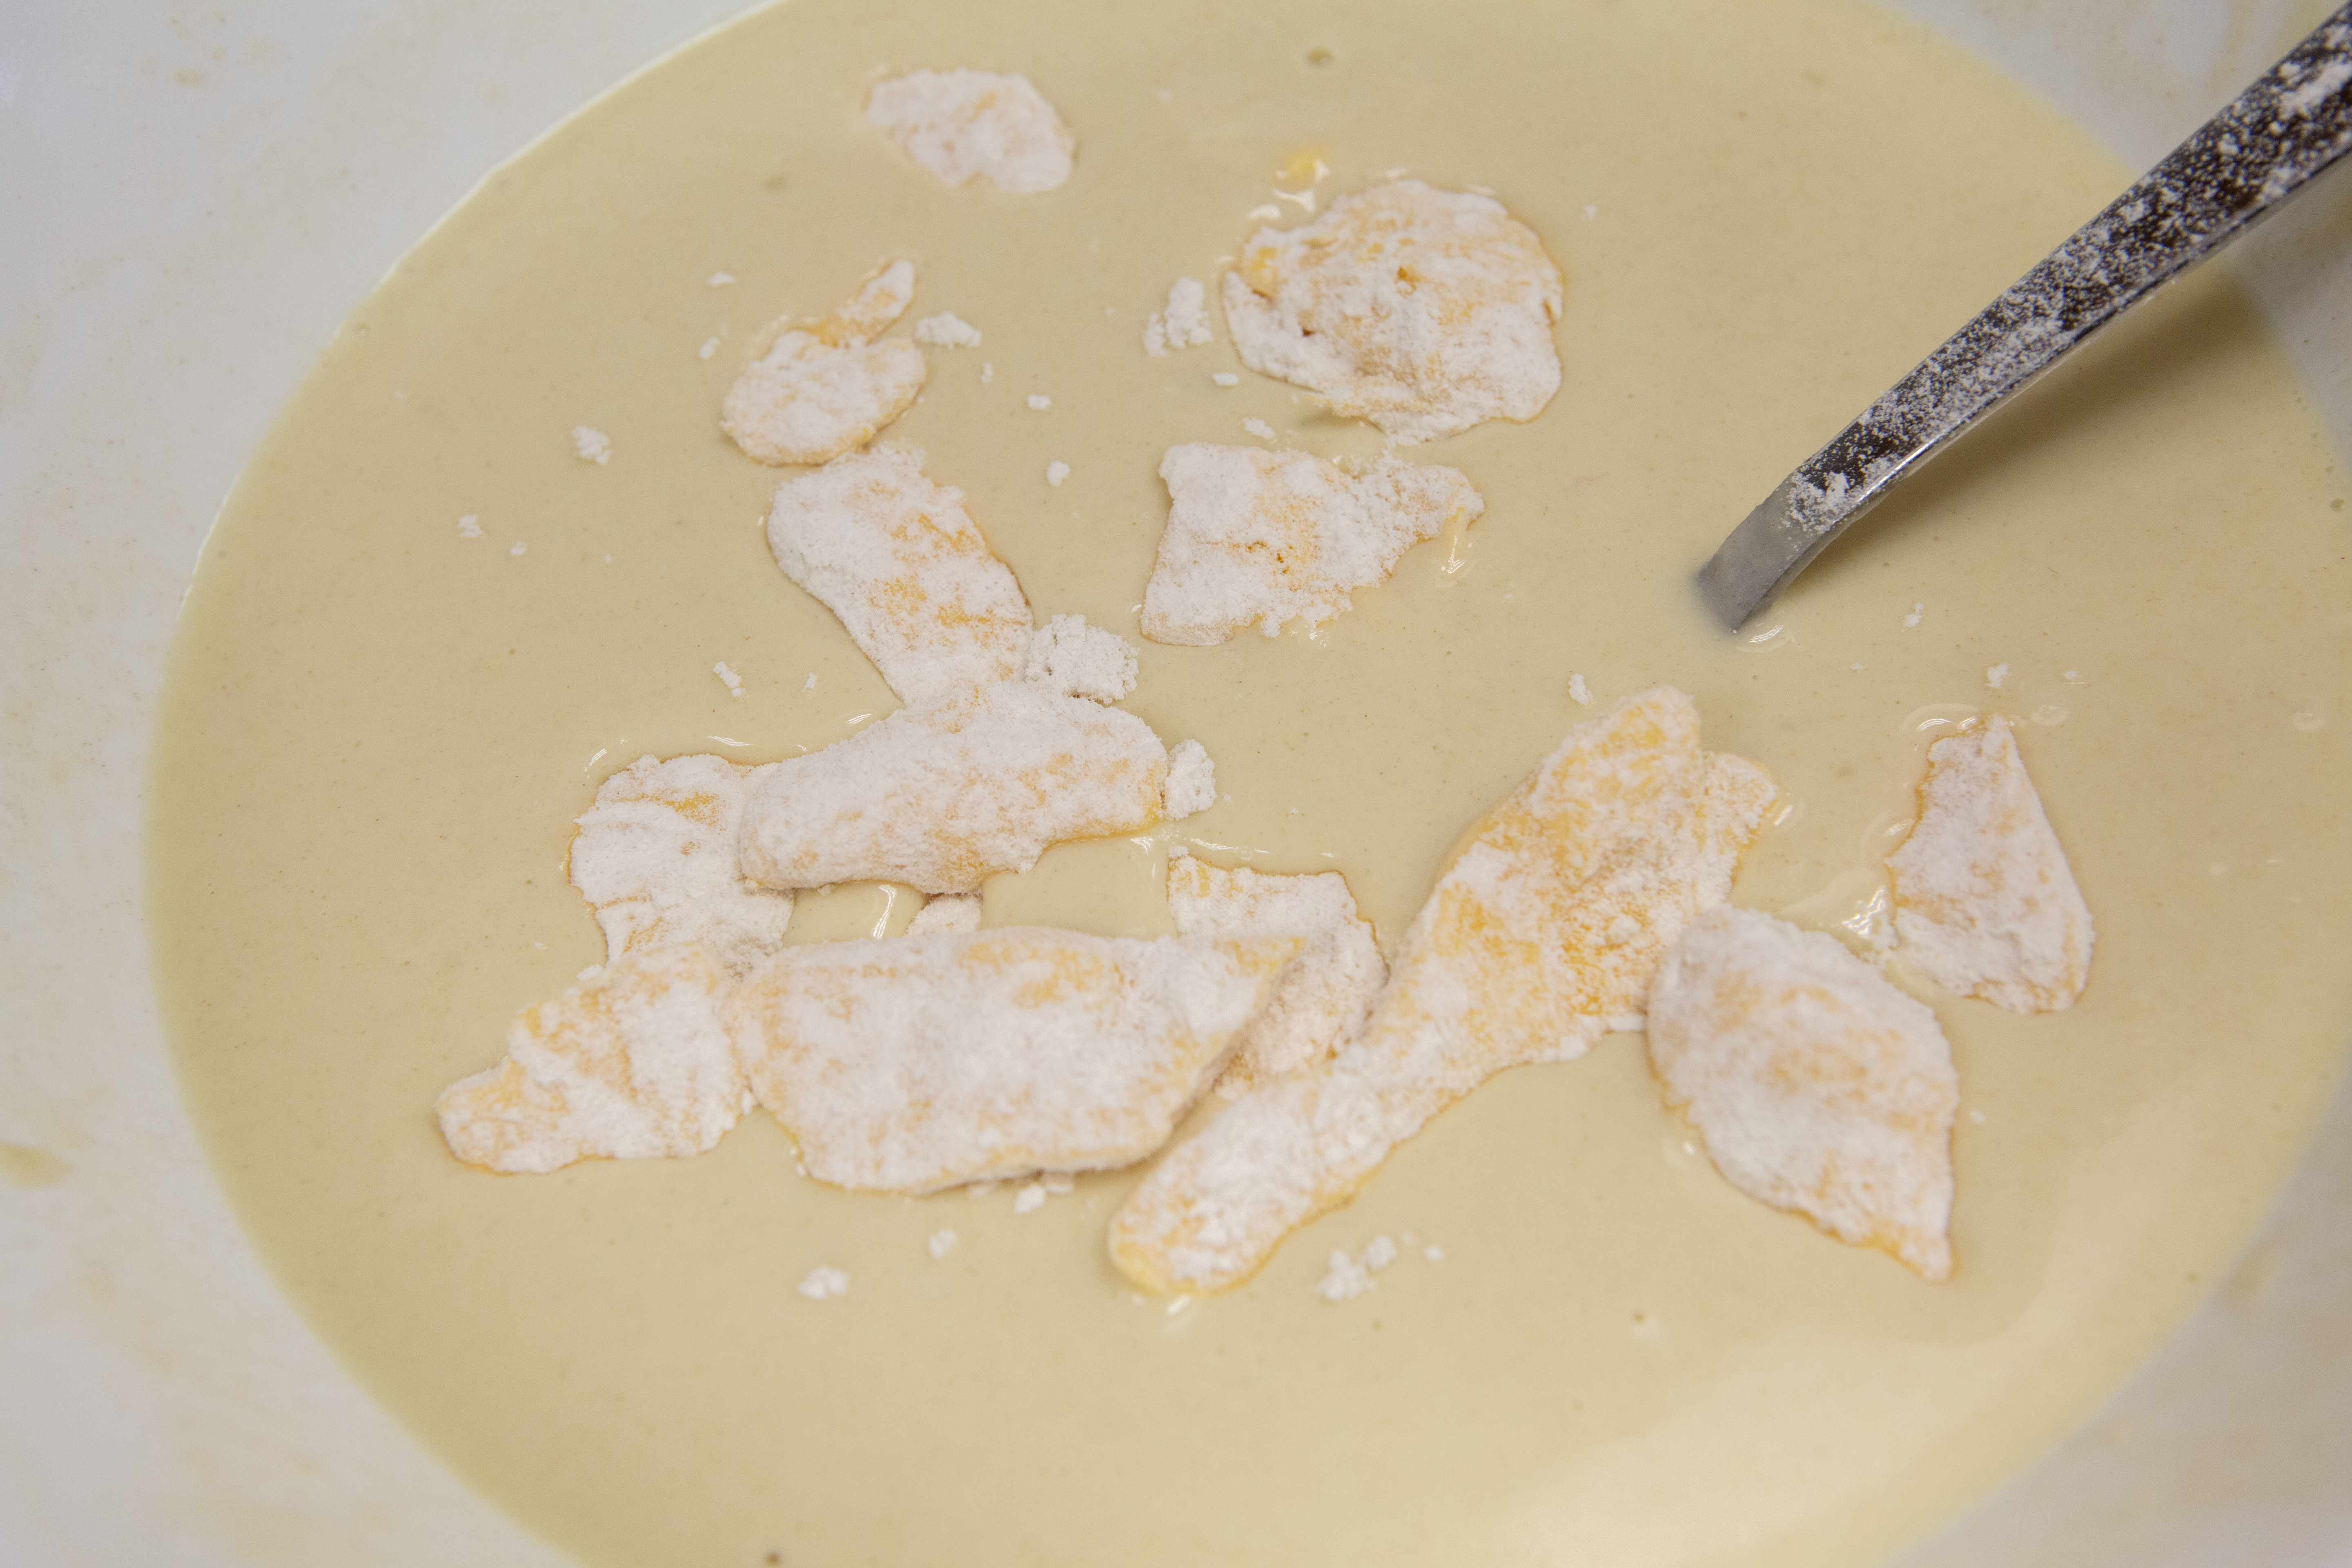
5. Dredge your chilled curds through the flour first, to coat.
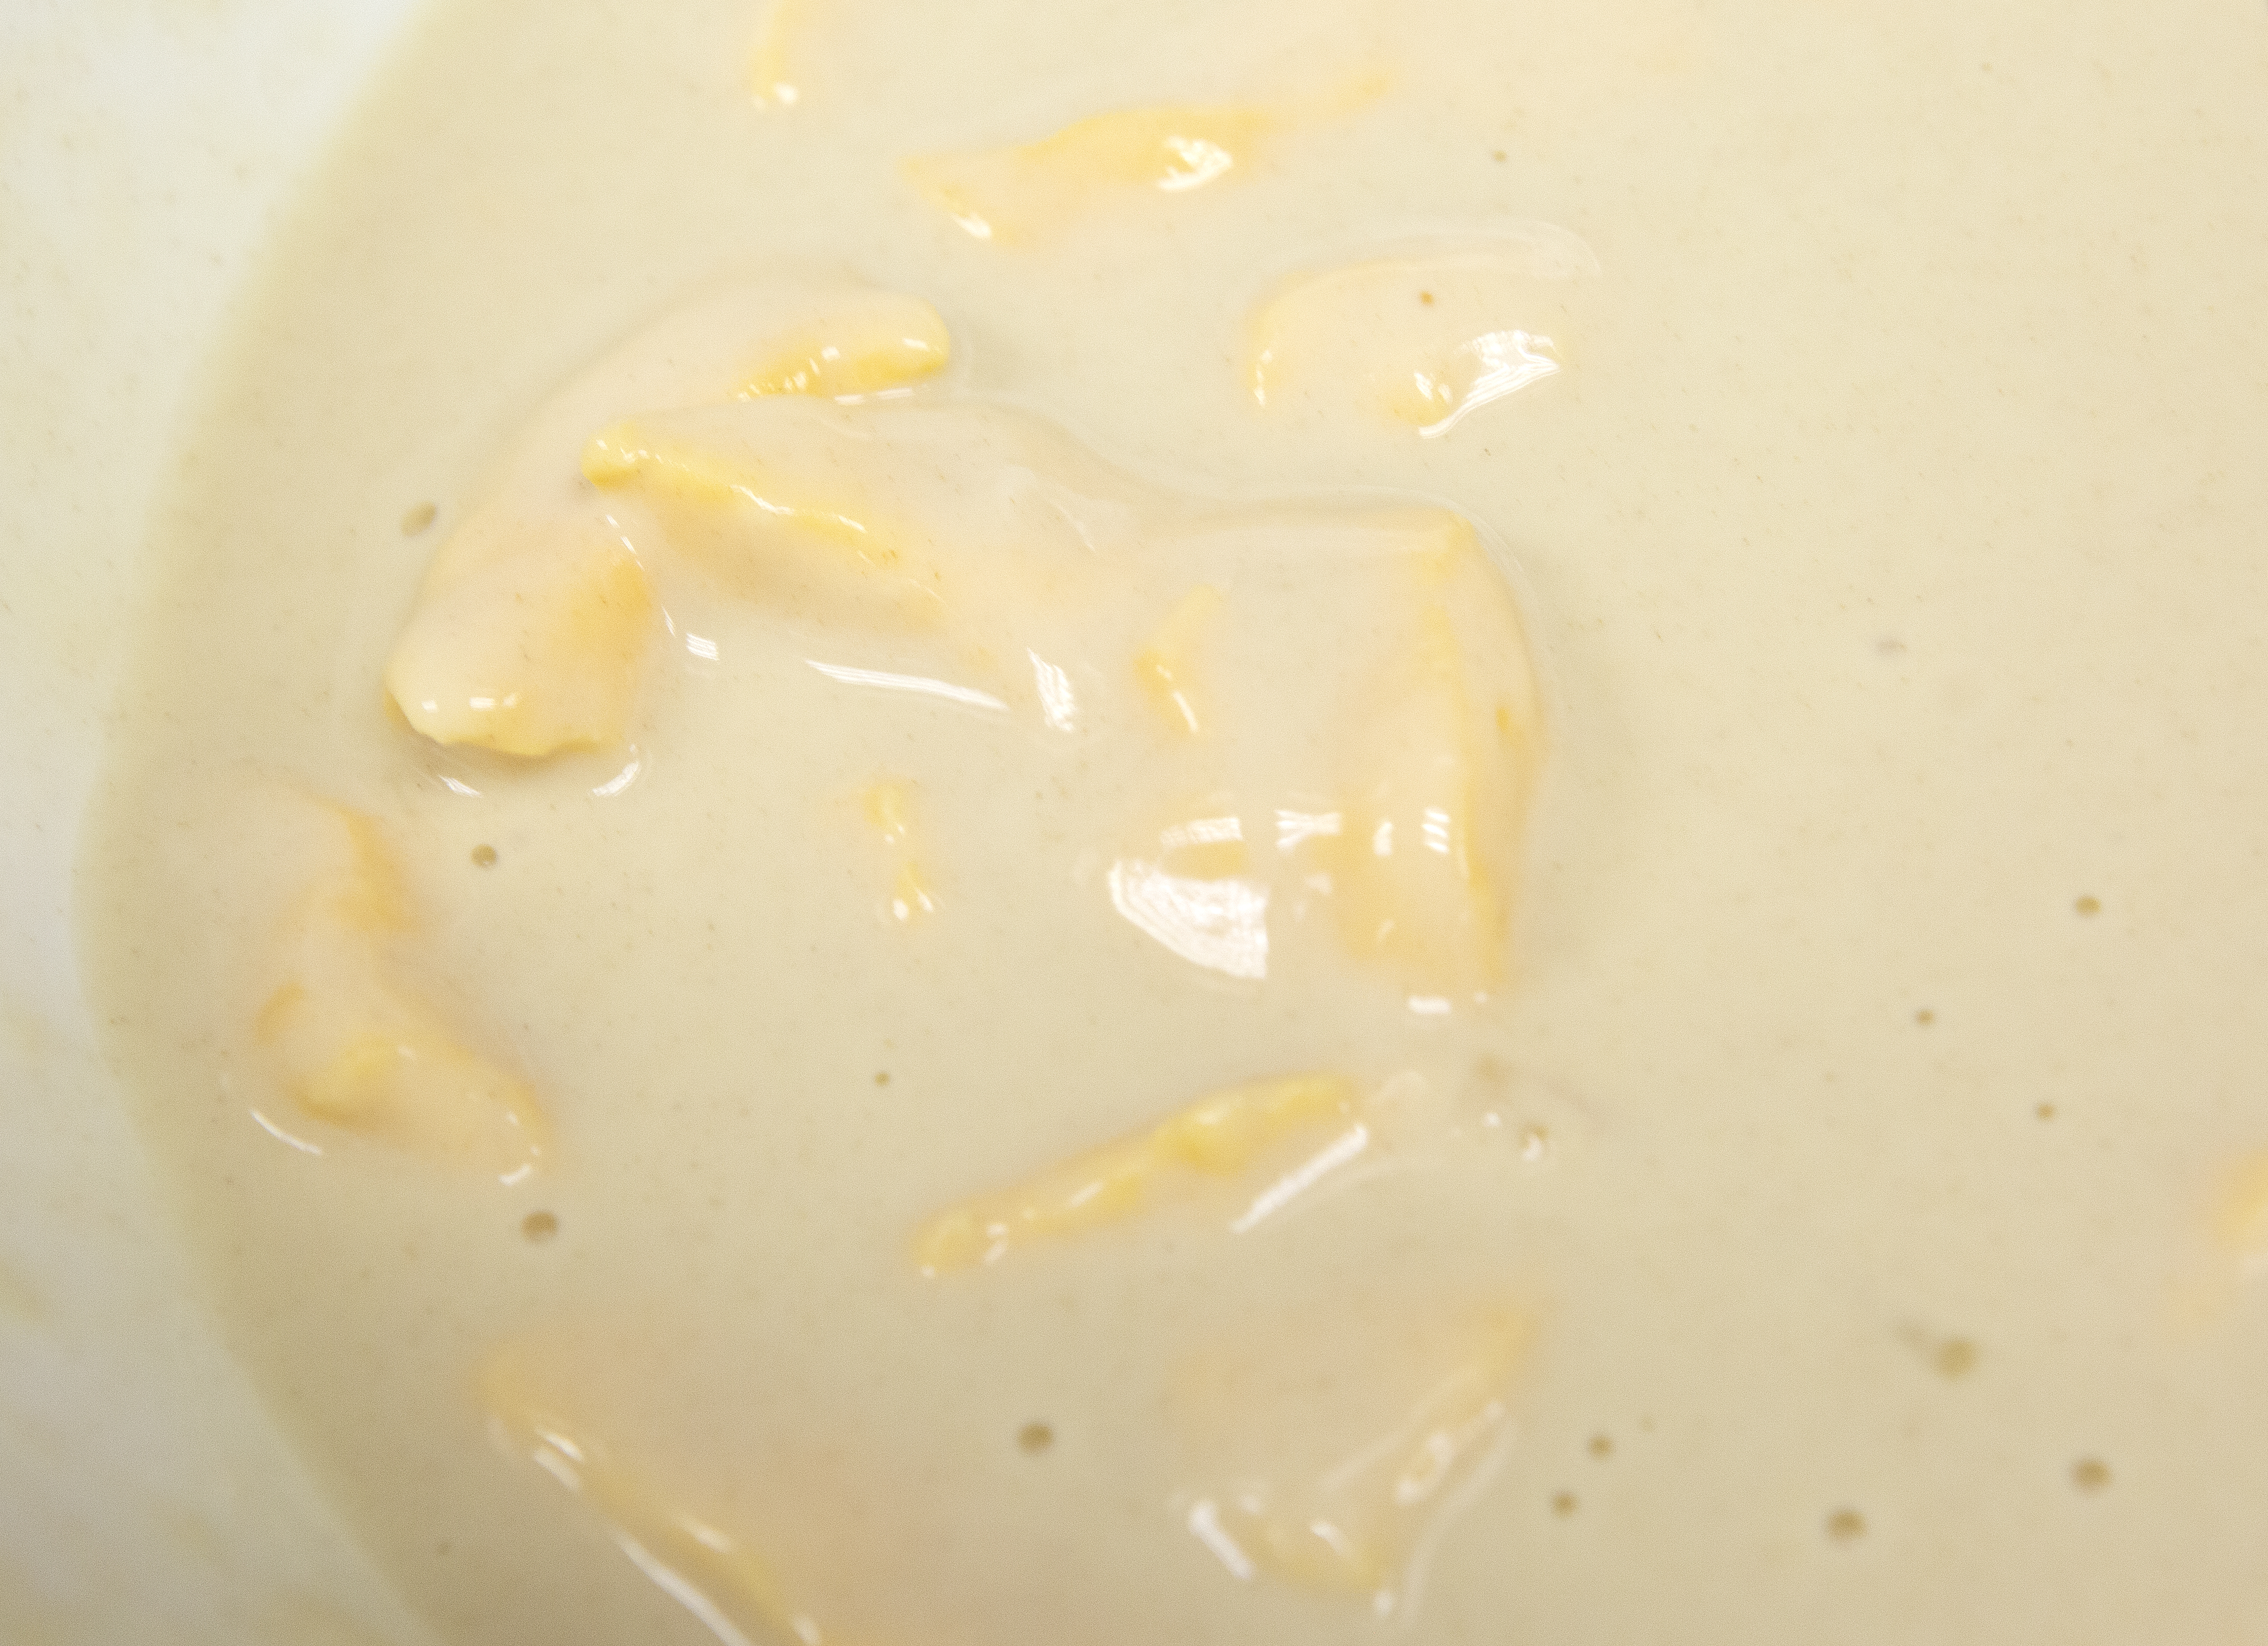
6. Drop floured curds into your batter; make sure they get a good coat.
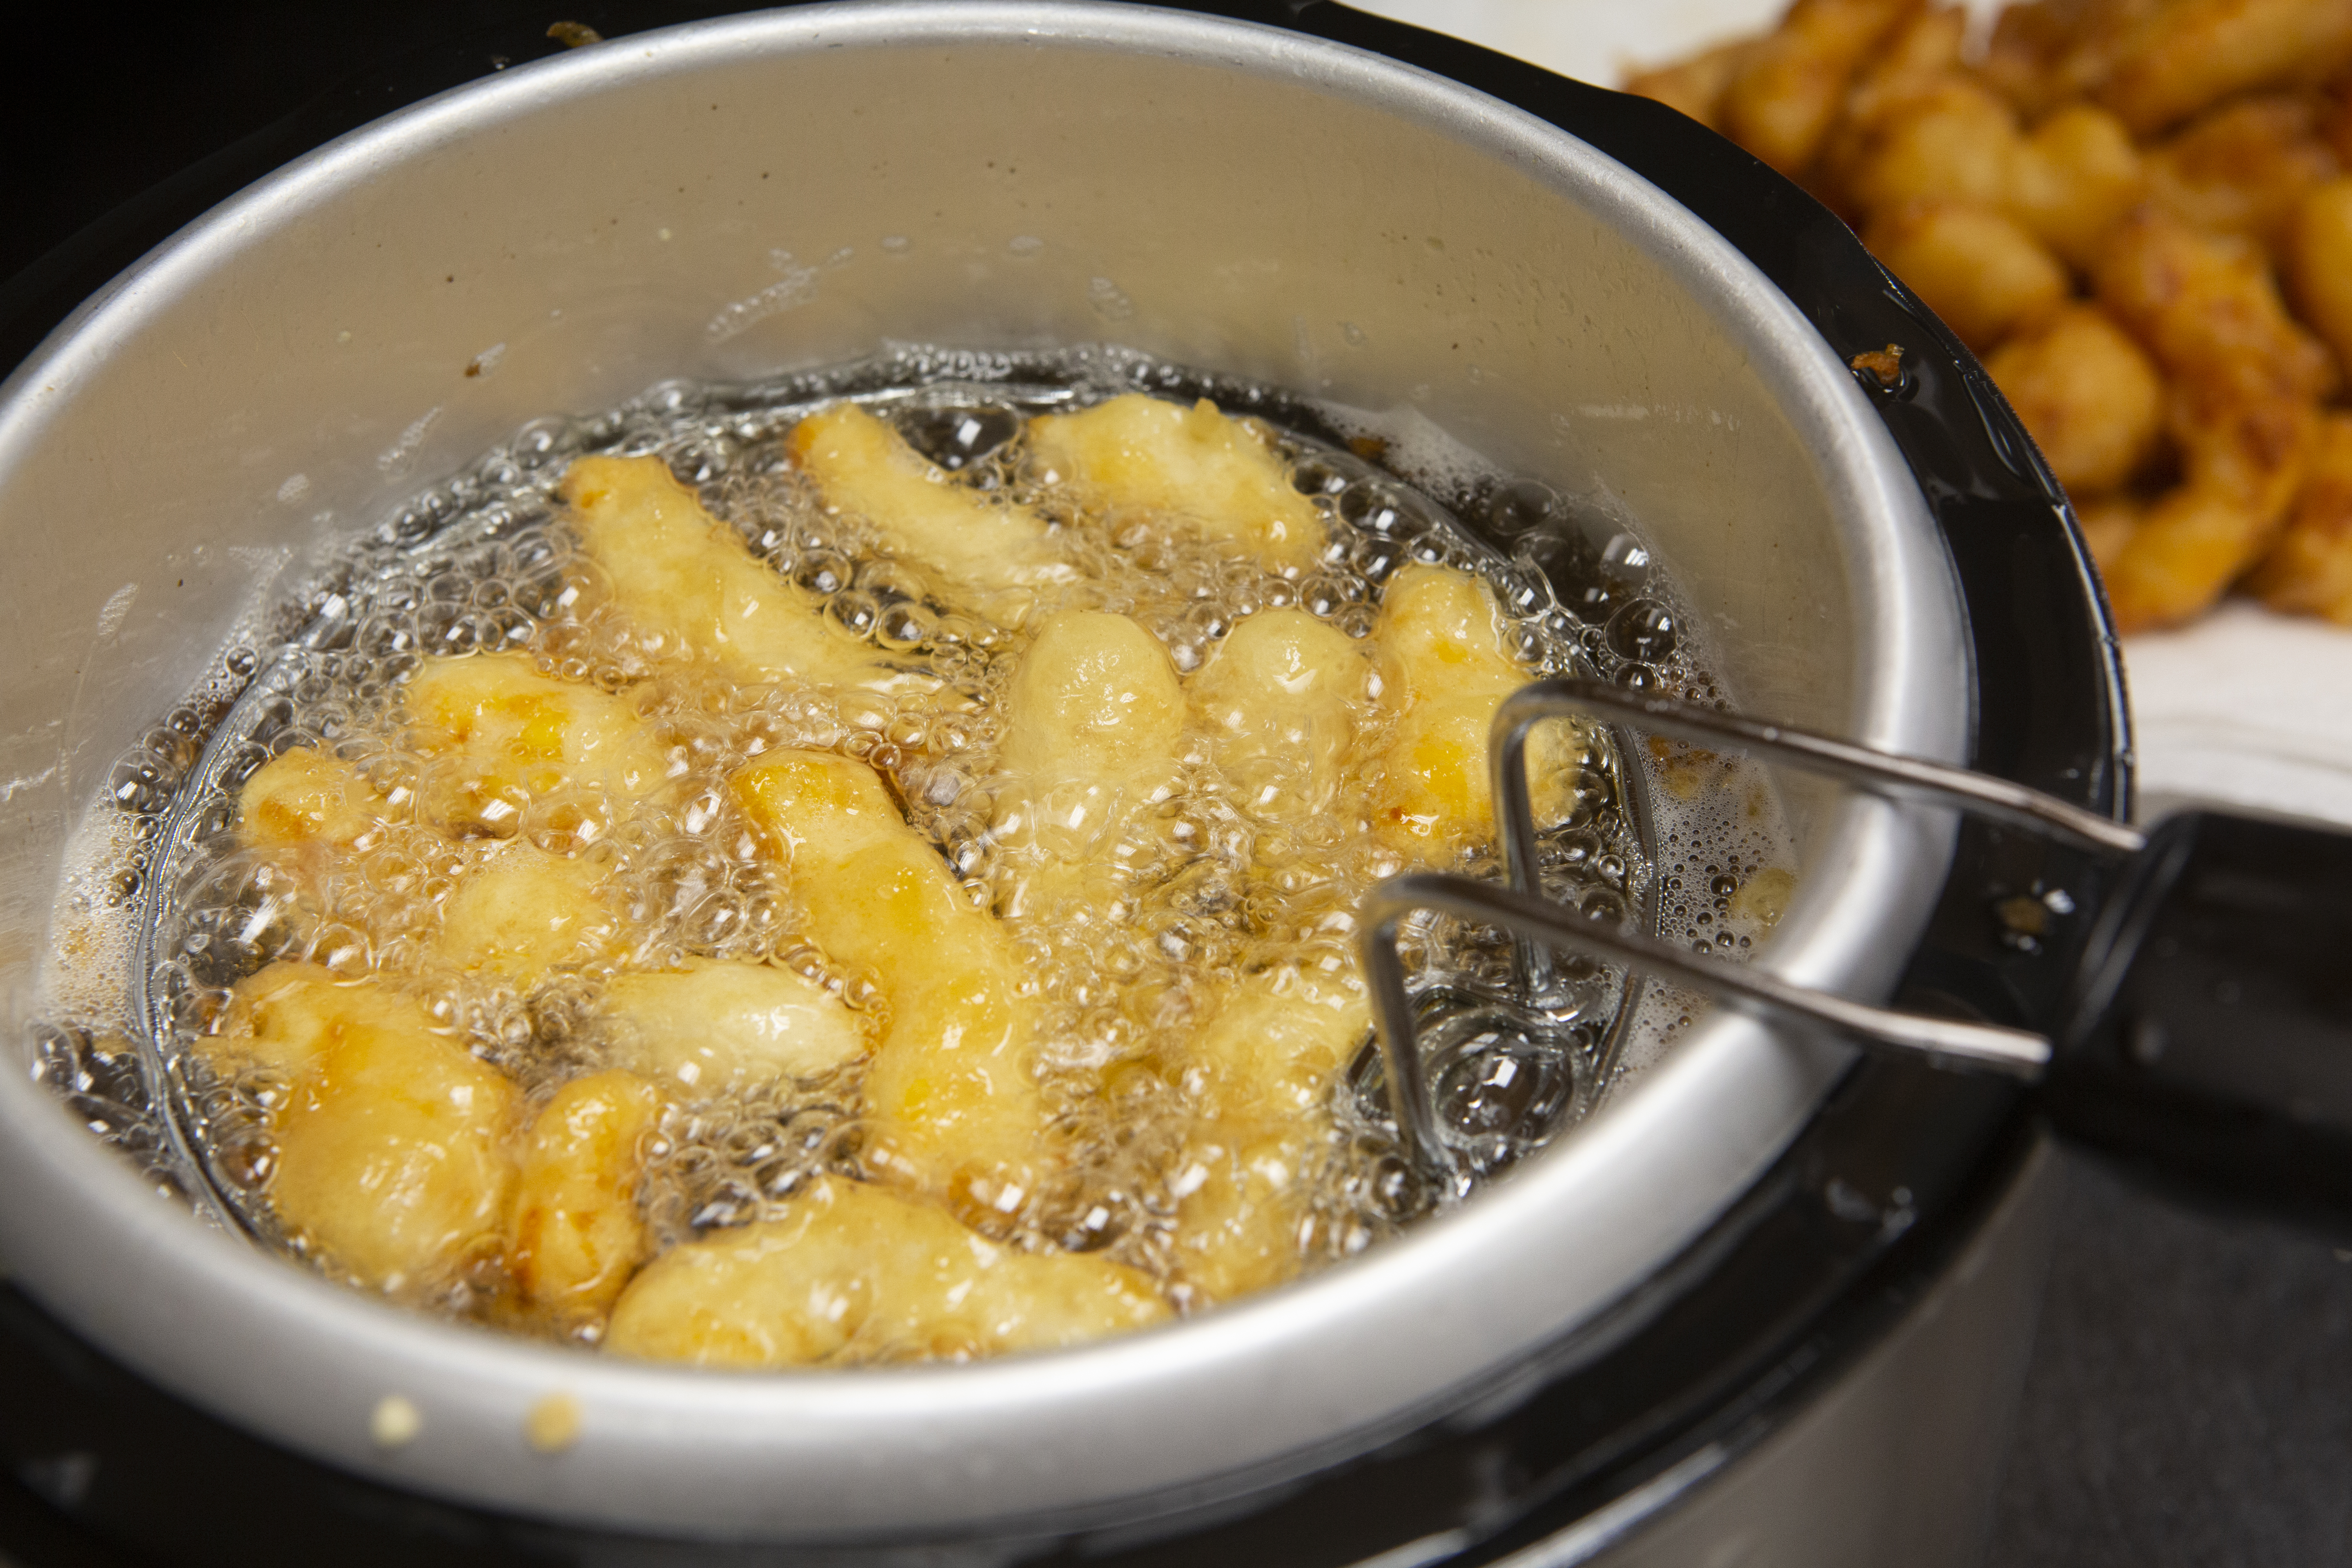
7. Carefully drop your curds into your hot oil. Again, please use caution! Oil will spit when the wet curd hits. Don't put in too many at once, maybe 6-8 at a time, or your oil temperature will drop too much.
8. This may not be proper protocol, but to keep my curds from sticking to each other as they fried, I used a fork to keep them mostly separated.
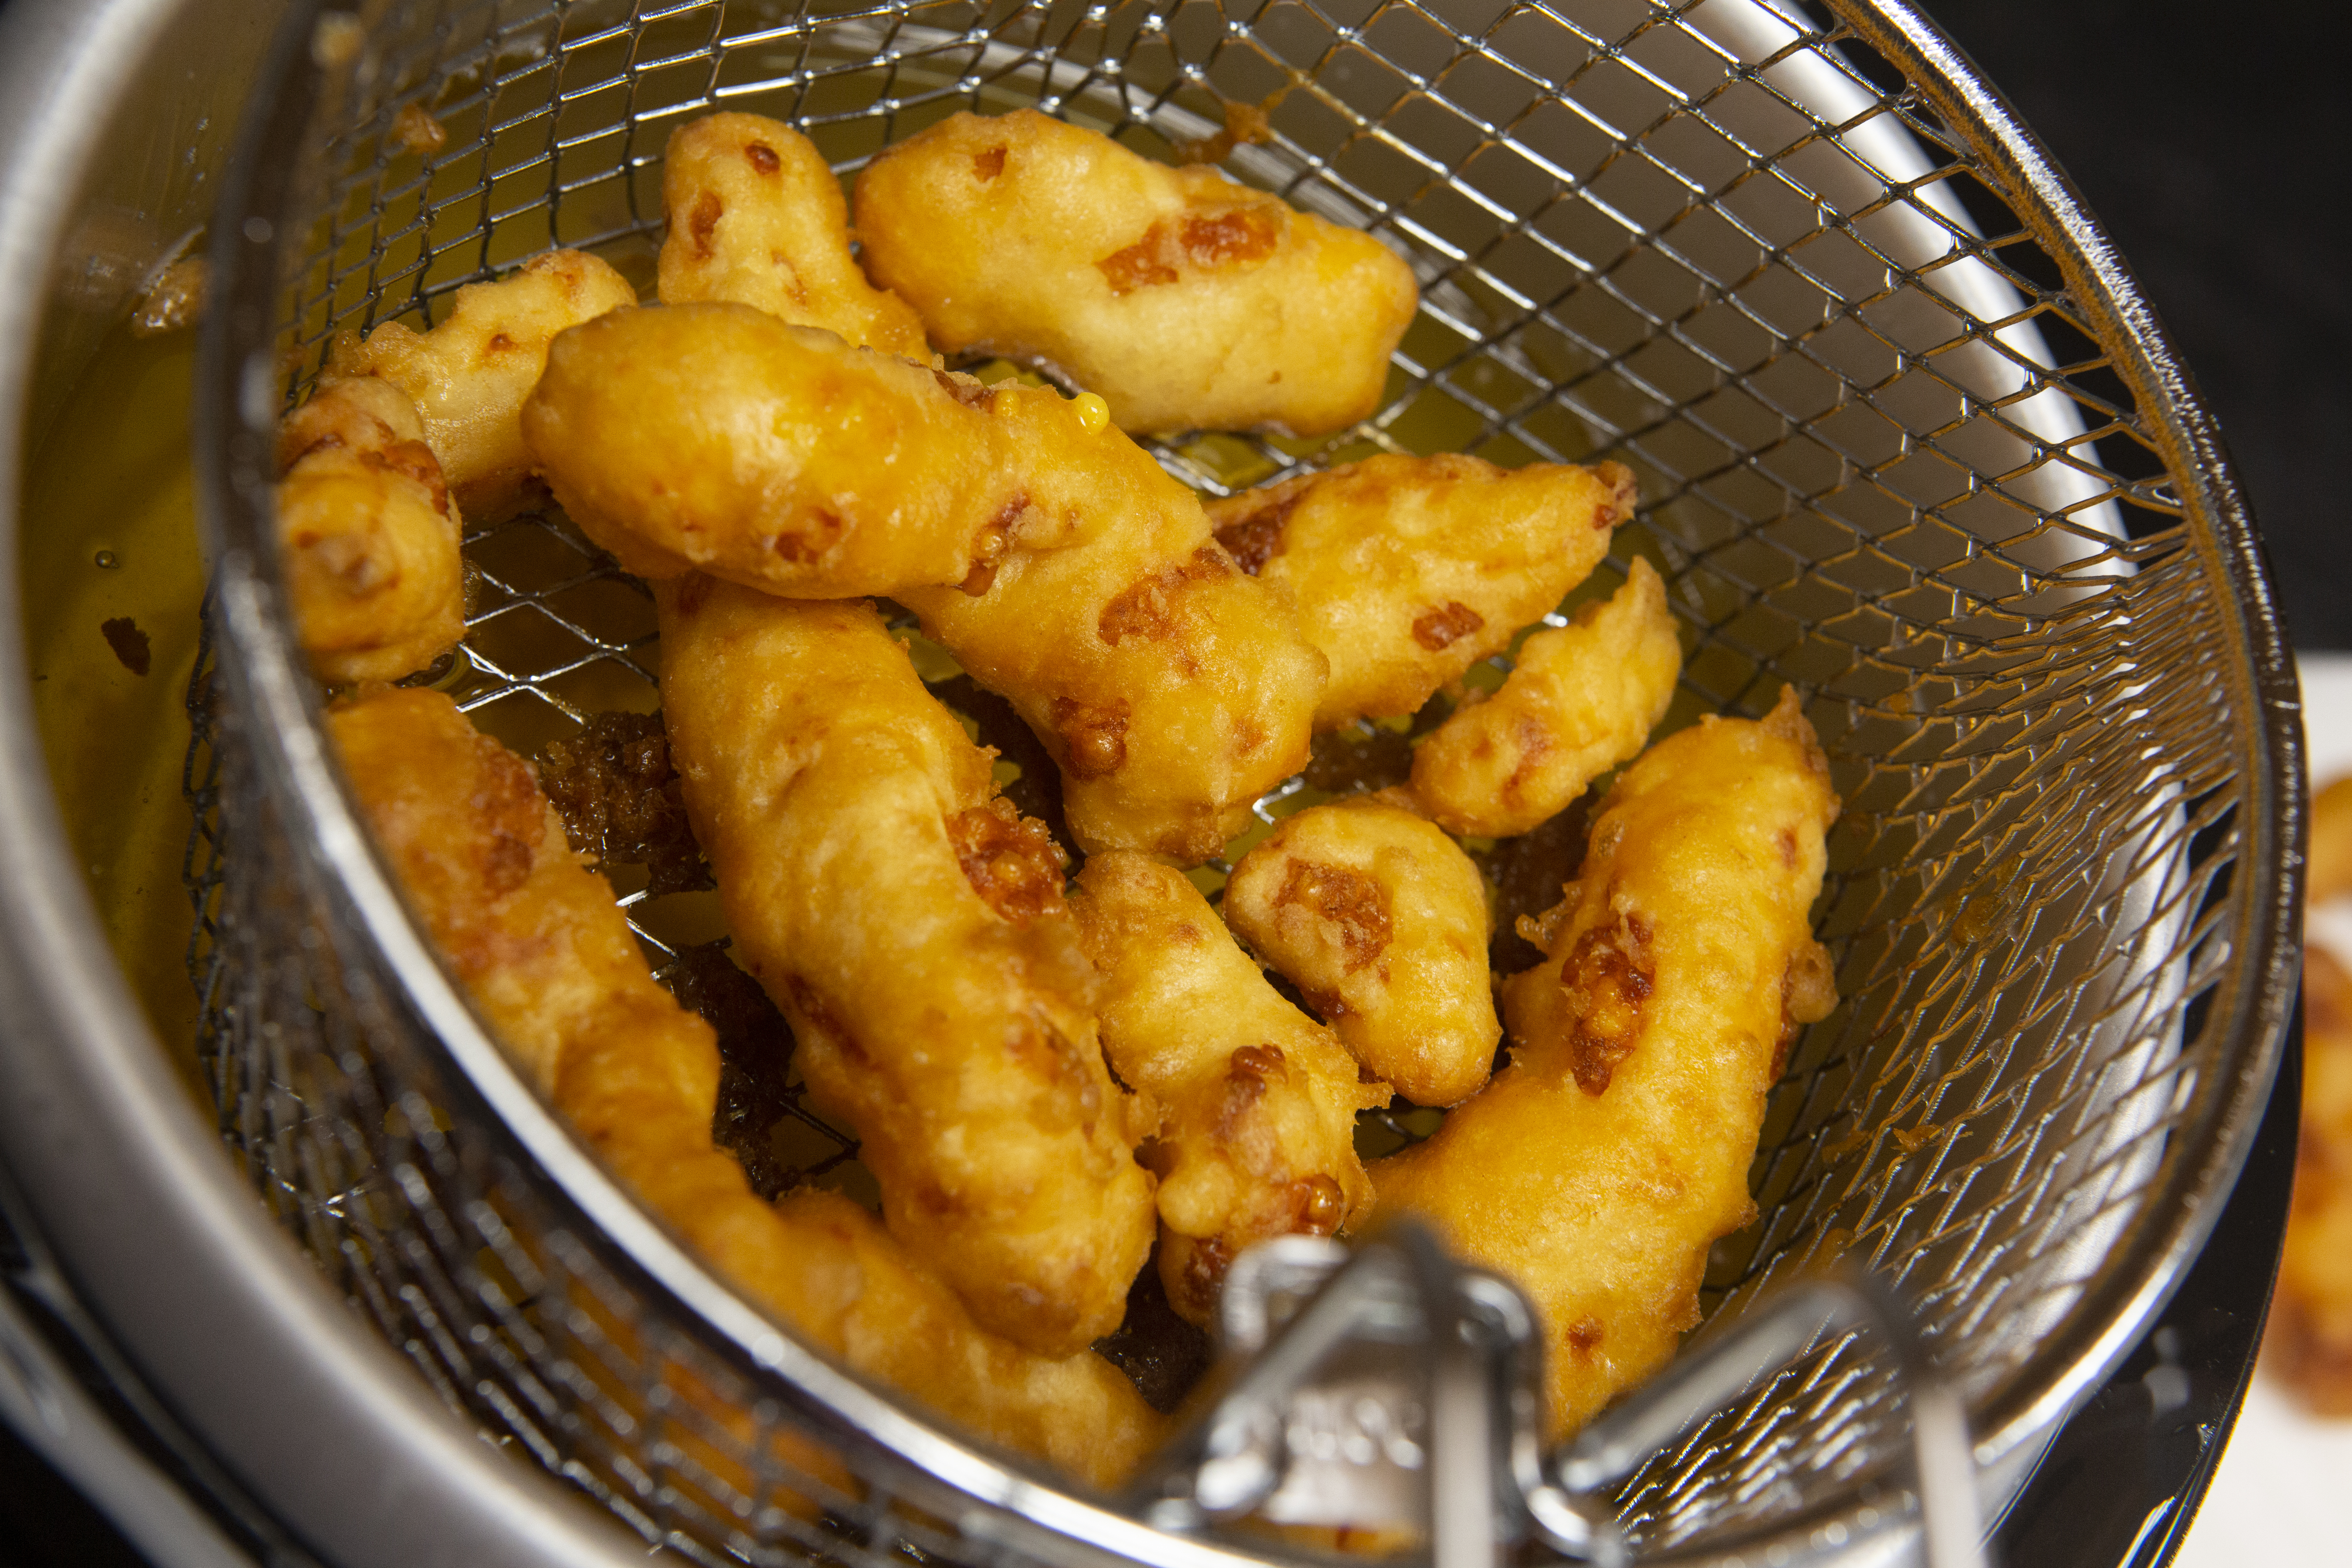
9. Fry for about 3-4 minutes, or until golden brown and crunchy-looking.
10. Drain on paper towel, eat asap (when still warm but not burn-your-mouth hot).
So, this was my first attempt. General reviews around the office were good, so I think I did ok?
If you have a fried cheese curd recipe that you swear by, please let me know at valerie@dairyconnection.com.
Recent Blog Posts
-
Overview of Coagulant Types
By: Bill Rufenacht | Technical Specialist, Dairy Connection Inc. Below is a broad overview of the v …11th Feb 2026 -
2026: Looking ahead together at Dairy Connection
By: Katie Phillips | President & CEO, Dairy Connection Inc. As we step into January, I’m feeling exc …16th Jan 2026 -
Celebrating National Cheese Curd Day, October 15th
By: Valerie Tobias | Marketing Coordinator, Dairy Connection Inc. I'm a Generation X-er who's lived …14th Oct 2025